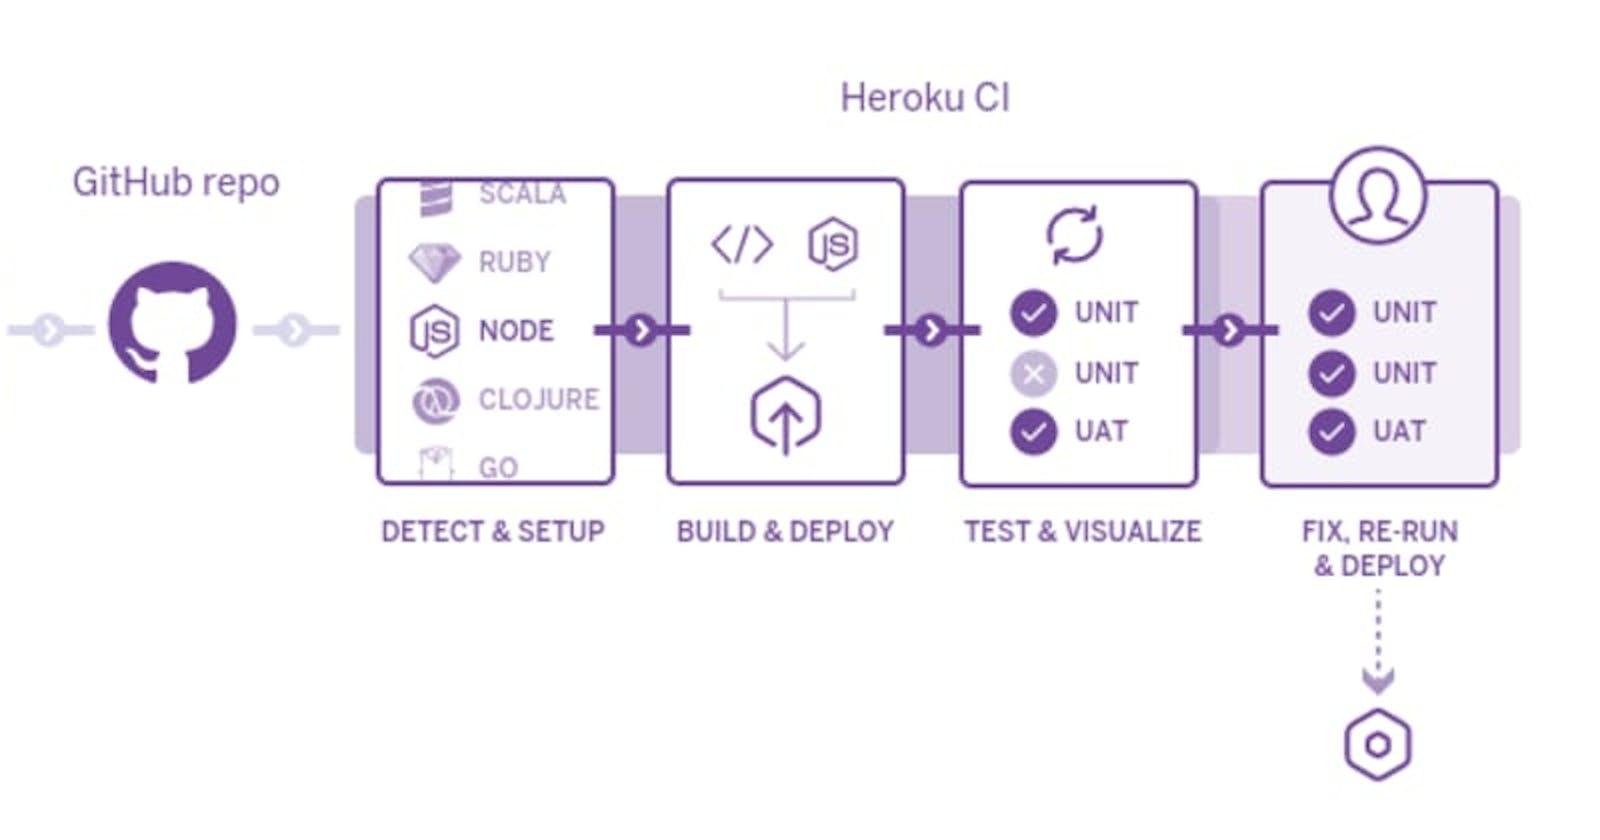


Heroku CI automatically runs your app’s test suite with every push to your app’s GitHub repository, enabling you to easily review test results before merging or deploying changes to your codebase.
Besides strong Dev/prod parity, using Heroku CI comes with many benefits key of which include;
- Parallel Test Runs.
- Browser tests and User Acceptance Tests
- Seamless integration with Heroku pipelines
- Easy customization of test dependencies in the test environment
- A Simple Integrated Solution (integration, hosting and deployment)
- Simple, prescriptive developer experience in modern CI/CD solutions
- Management support
- Many supported languages
In this article, we shall build a Heroku Flow CI/CD pipeline that utilizes Heroku CI.

Part 1: App init.
We are going to build a simple node.js application that calculates the factorial of a number. We shall however start with its api and then add the factorial functionality later. This is so we can see Heroku CI in action. To start, fork the repository here and then clone your forked repository to your computer.
$ git clone https://github.com/123MwanjeMike/cicd-with-herokuci.git
Next, change to the created directory and switch to the start branch.
$ cd cicd-with-herokuci/
$ git checkout start
Initialize the project with npm init and then install express
$ npm init -y
$ npm install express
You should have a new file package.json in your directory. Open it and add the start script node index.js.
"scripts": {
  "test": "echo \"Error: no test specified\" && exit 1",
  "start": "node index.js"
},
Now create a simple api for the app in index.js file with the code below.
$ touch index.js
const express = require('express');

const app = express();

app.get('/', (req, res) => {
  res.status(200).json({ message: 'Welcome to the Factorial calculator 🎊' });
});

app.get('*', (req, res) => {
  res.status(404).json({ message: 'Resource not found.' });
});

const port = process.env.PORT || 3000;
app.listen(port, () => console.log(`Listening on port ${port}`));
Running npm start should give a similar output as below

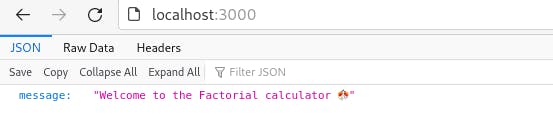
We now have a basic setup for our application.
Part 2: The pipeline.
We shall be adding our application to a Heroku pipeline. First we need to tell Heroku which services to run and how to run these. To do this, we shall add a Procfile file at the root of our directory by running;
$ echo "web: node index.js" >> Procfile
Commit and push your changes to the remote repository.
$ git add .
$ git commit -m "<enter your message here>"
$ git push origin start
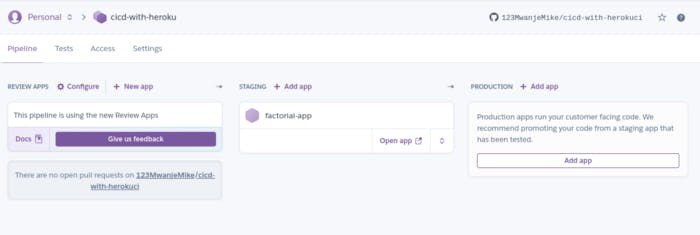
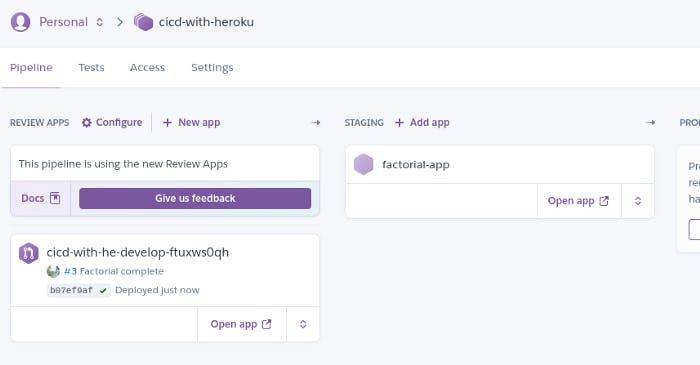
Now move here if you have a Heroku account and create a new Heroku pipeline. Remember to connect your forked repository as you create the pipeline. You should end up with a screen like below.
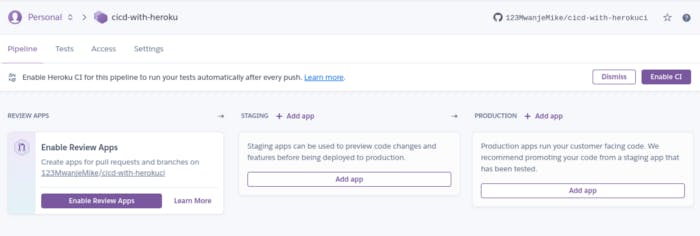 Click Enable Review Apps to have deploy previews for the pull requests(PRs) before they are merged.
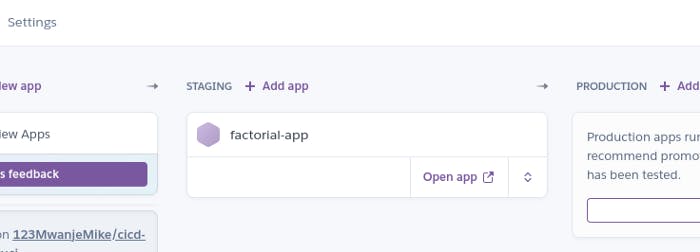
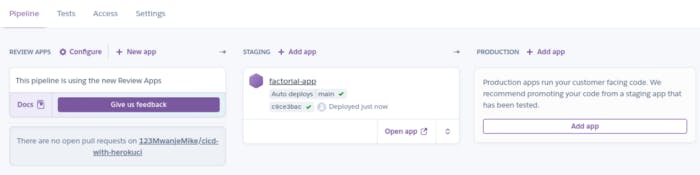
 Next, under the staging section of the pipeline, click Add app and create a new app. Its common practice to have the staging app deployed from the develop branch and the production app from the main branch.
In this case, my factorial-app is being deployed from my default branch(main).
Next, under the staging section of the pipeline, click Add app and create a new app. Its common practice to have the staging app deployed from the develop branch and the production app from the main branch.
In this case, my factorial-app is being deployed from my default branch(main).
 Click settings and scroll to the Heroku CI section. Click Enable Heroku CI.
Note: Heroku gives 1000 free dyno hours per month to its verified users and these can be used to access the Heroku CI service for free until they are depleted — in which case you start paying per extra dyno minutes used.
Click settings and scroll to the Heroku CI section. Click Enable Heroku CI.
Note: Heroku gives 1000 free dyno hours per month to its verified users and these can be used to access the Heroku CI service for free until they are depleted — in which case you start paying per extra dyno minutes used.
 Our pipeline is now set up and we are ready for action.
Part 3: The application’s factorials service
We are now going to add a service to our application. We want to enable it calculate the factorial of a number. This will be through a get request with path parameters. We shall use the test driven development approach while at it, so install the test runner mocha and the assertion library chai.
$ npm install -D mocha chai
Open the package.json file and find the test key under scripts and change its value to have mocha *.test.js || true. Your scripts now look like so.
"scripts": {
  "test": "mocha *.test.js || true",
  "start": "node index.js"
},
We are basically telling mocha to execute .test.js files without displaying errors when we run npm test. Let us now create our test file factorial.test.js that will have our tests which will be automated later on.
$ touch factorial.test.js
const { assert } = require('chai');
const factorial = require('./factorial');

describe('Factorial test', () => {
  it('Factorial(0) = 1', () => {
    assert.equal(factorial(0), 1);
  });

  it('Factorial(1) = 1', () => {
    assert.equal(factorial(1), 1);
  });

  it('Factorial(5) = 120', () => {
    assert.equal(factorial(5), 120);
  });

  it('Factorial(171) = Infinity', () => {
    assert.equal(factorial(171), Infinity);
  });
});
Next, create the file factorial.js to which we shall write our function that calculates the factorial of a number.
$ touch factorial.js
const factorial = (number) => {
  let result = 1;
  if (number === 0 || number === 1) {
    return result;
  }
  for (let i = number; i >= 1; i -= 1) {
    result *= i;
  }
  return result;
};

module.exports = factorial;
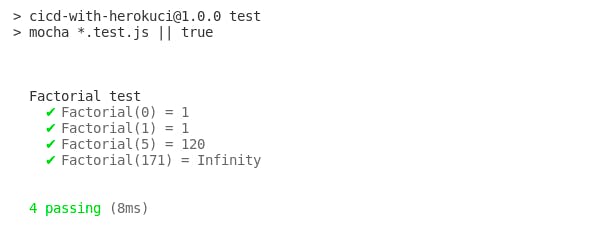
We can run our test suite with npm test and get the output as below
 Now let us update our index.js too with an end point that can serve requests for the factorials of numbers.
const express = require('express');
const factorial = require('./factorial');
const app = express();
app.get('/', (req, res) => {
const { host } = req.headers;
res.status(200).json({ message: 'Welcome to the Factorial calculator 🎊', docs: `http://${host}/docs` });
});
app.get('/docs', (req, res) => {
const { host } = req.headers;
res.status(200).json({
message: 'Documentation',
request: `http://${host}/factorial/<number>`,
response: 'The factorial of <number> is <result>`',
example: {
request: `http://${host}/factorial/5`,
response: 'The factorial of 5 is 120`',
},
});
});
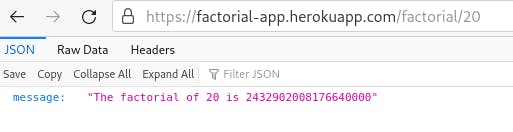
app.get('/factorial/:number', (req, res) => {
const { number } = req.params;
if (isNaN(number)) return res.status(400).json({ message: `'${req.params.number}' is not a number.` });
if (number > 200) return res.status(200).json({ message: `The factorial of ${number} is Infinity` });
return res.status(200).json({ message: `The factorial of ${number} is ${factorial(number)}` });
});
app.get('*', (req, res) => {
const { host } = req.headers;
res.status(404).json({ message: 'Resource not found.', docs: `http://${host}/docs` });
});
const port = process.env.PORT || 3000;
app.listen(port, () => console.log(`Listening on port ${port}`));
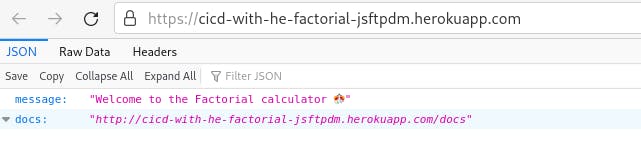
I added a docs endpoint to provide documentation for our service request.
Part 4: The magic
The moment of truth has come. Now we shall push our changes again to GitHub, open a pull request then observe how it all works.
$ git add .
$ git commit -m "Factorial service"
$ git push origin start
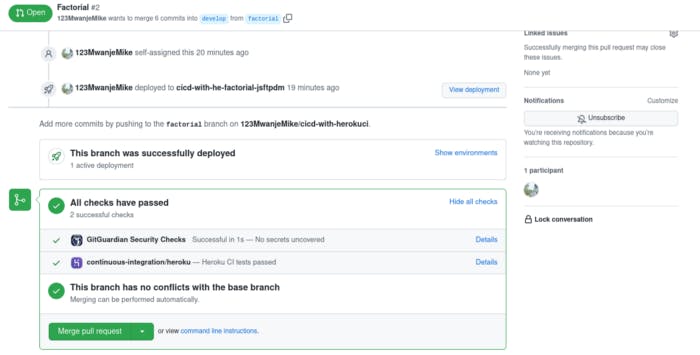
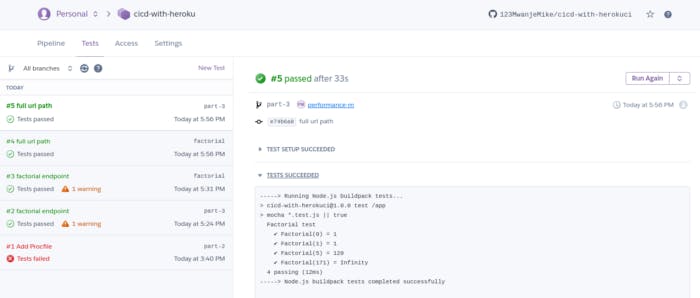
After opening the pull request, we see that Heroku CI tests passed and that the branch was successfully deployed. We can also go ahead to checkout the deployment.
 Finally, lets enable automatic deploys for our factorial-app still under the staging section of our pipeline.
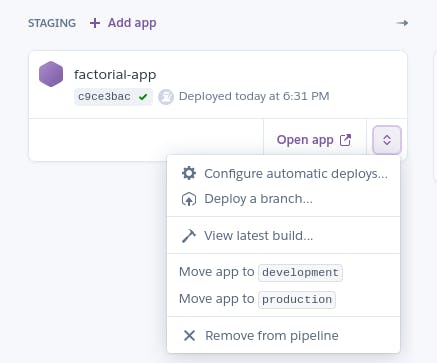

From now on, any code push to our main branch will automatically be deployed to the staging environment of our application.
 Since everything is working fine, we can then move/promote the app to production.

Conclusion
As you have seen, setting up a CI/CD pipeline with Heroku CI is quite easy and Heroku Flow is a very intuitive workflow for visualizing your code delivery process. Heroku is ideal for small and medium business applications even though large business application with a microservices architecture can still leverage it. With Heroku CI, you can move fast without breaking things.
For reference, you can find the entire project code in this repository with branches start, part-1, part-2, and part-3 that have the resultant code version of each respective part above and the final application code in the main branch.
This post was sponsored by AutoIdle. AutoIdle is an add-on that cuts your Heroku bill by automatically putting your staging and review apps to sleep when you don't need them.
Happy hacking.